Looking for new and fun nature centered activities for home or school? Here we’ll be adding hands-on activities for the whole family to get involved with!
Seed Paper
Supplies:
Unbleached packaging tissue paper
Elmer’s Glue
Different types of Seeds
Non-toxic stamp ink
Stamps
Cookie Cutters (optional)
Large screen, like an old window screen
Prep Time: 15 minutes
Work Time: 2 hours
Printable version here
Buy unbleached tissue paper from a place like EcoEnclose.com. It has to be unbleached and untreated because chemicals will kill the seeds.
Combine your own mixture of seeds in a bowl such as vegetable mix, purple flowers mix, birds mix, bees mix, etc.
Mix glue and water 2 glue to 1 water or 1 to 1 to water down the glue.
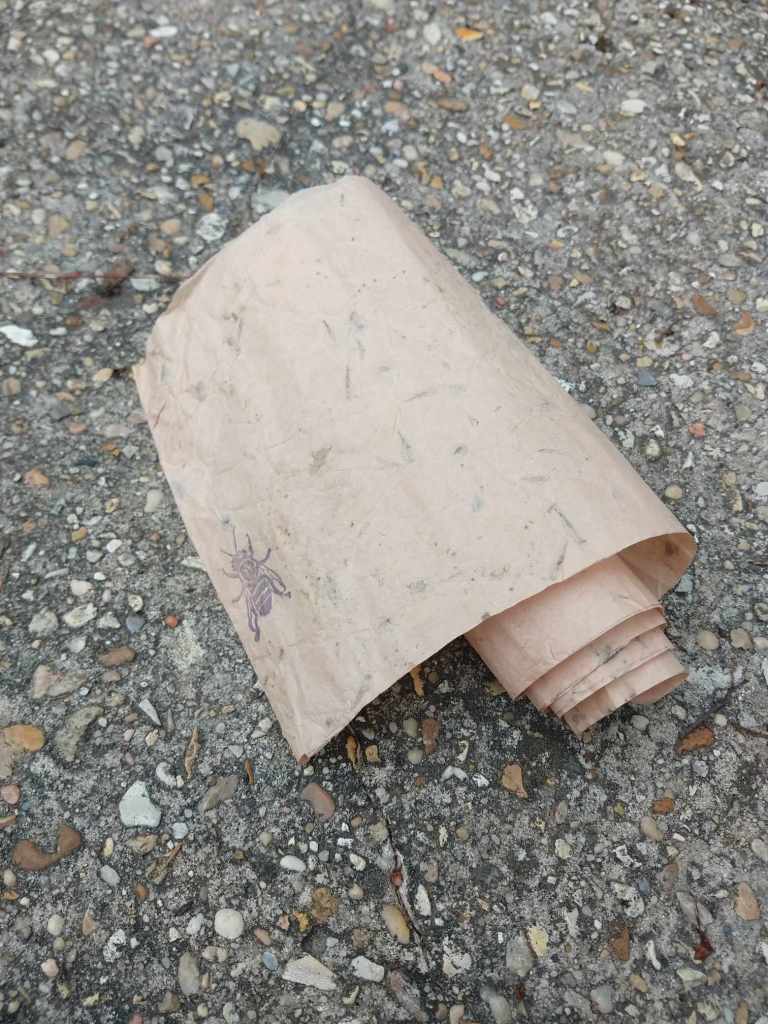
Place one sheet of tissue paper flat onto a screen. Paint the watered down glue onto the tissue with a large brush, such a wall brush until it is completely lightly coated. Sprinkle the seed mix onto the wet tissue paper to where seeds are around about 1 inch apart. Once the whole paper has seeds, take a second piece of tissue and lay it directly on top of the seeds, making a seed sandwich. Gently press down to glue the pieces of paper together around the seeds.
Right away, you can pick up the large sandwich sheet and hang up to dry vertically. I usually use clothes hangers with clips to hang them up.
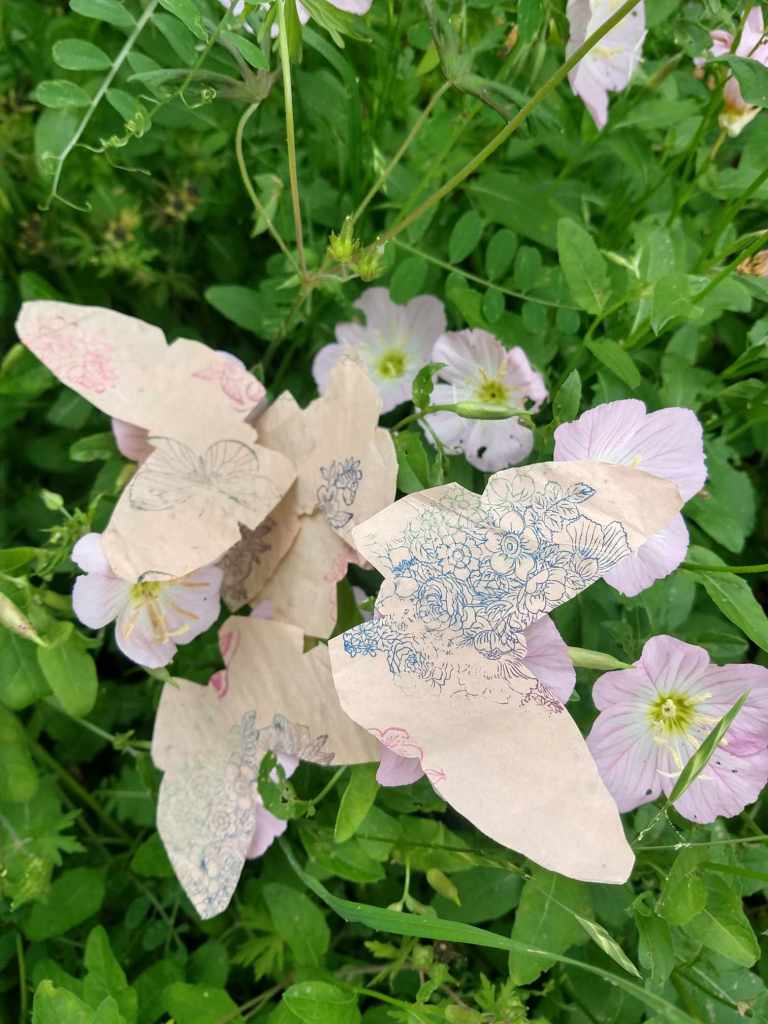
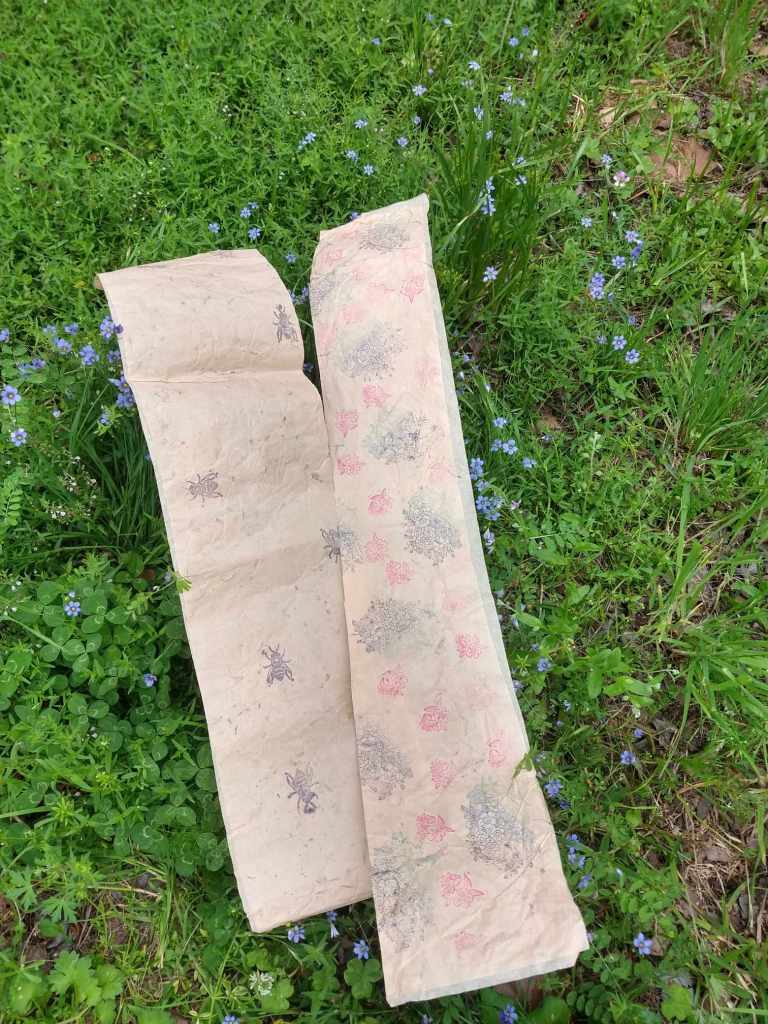
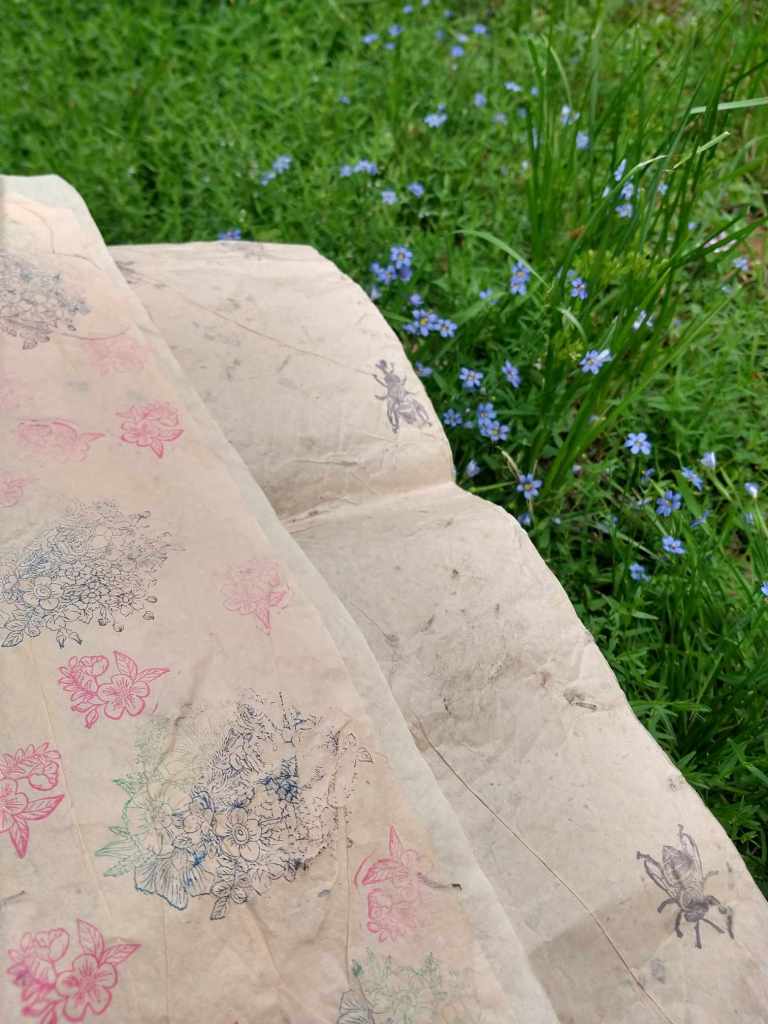
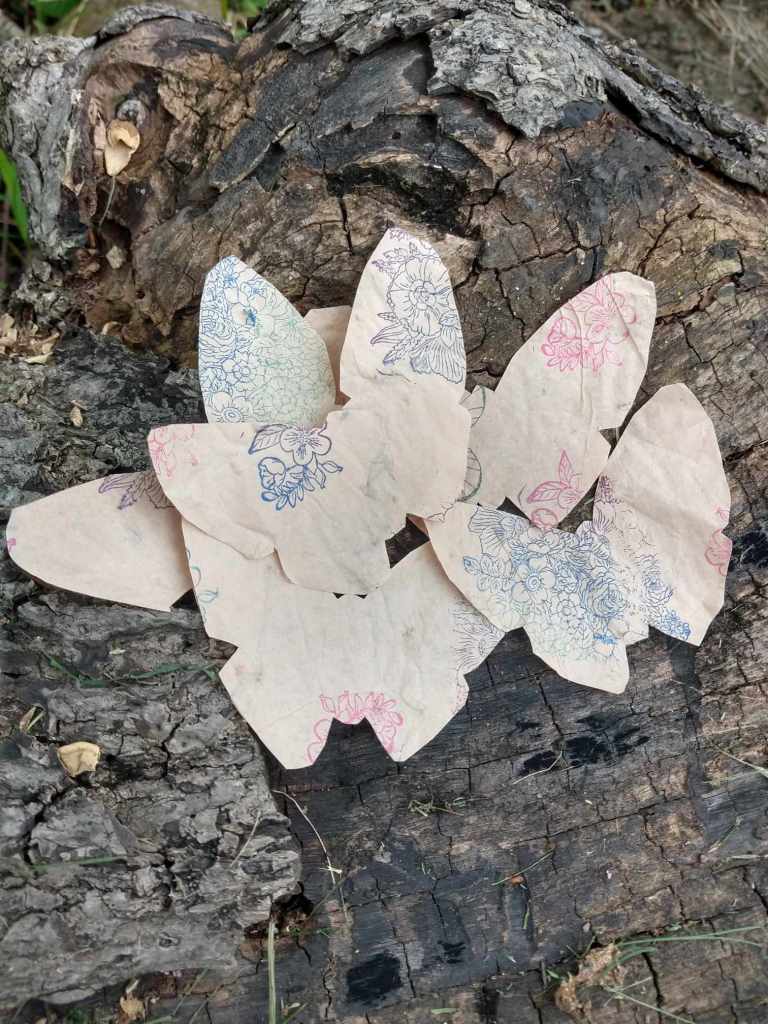
When dry (after about 30 min) the sheets can be stamped with whatever pattern represents the mix. Then they can be cut into strips for an instant garden or they can be cut into shapes by outlining the cookie cutters and given out as smaller pieces that will fit into a plant pot.
Instructions for Planting:
Lay the seed paper onto bare dirt outside or in a pot with prepared soil. Cover the paper with a half inch to an inch of soil. Water to moisten the soil. Water every other day through seeds sprouting and growing until plants are well established.
Need help?
Get in touch
Let it Bee Landscaping, LLC.
Katie Kogler, Owner
Baton Rouge, LA.
(225) 341-1729
Socials / Email
Proudly Powered by WordPress
